


AFC
- Mar 10, 2019
- 5 min read
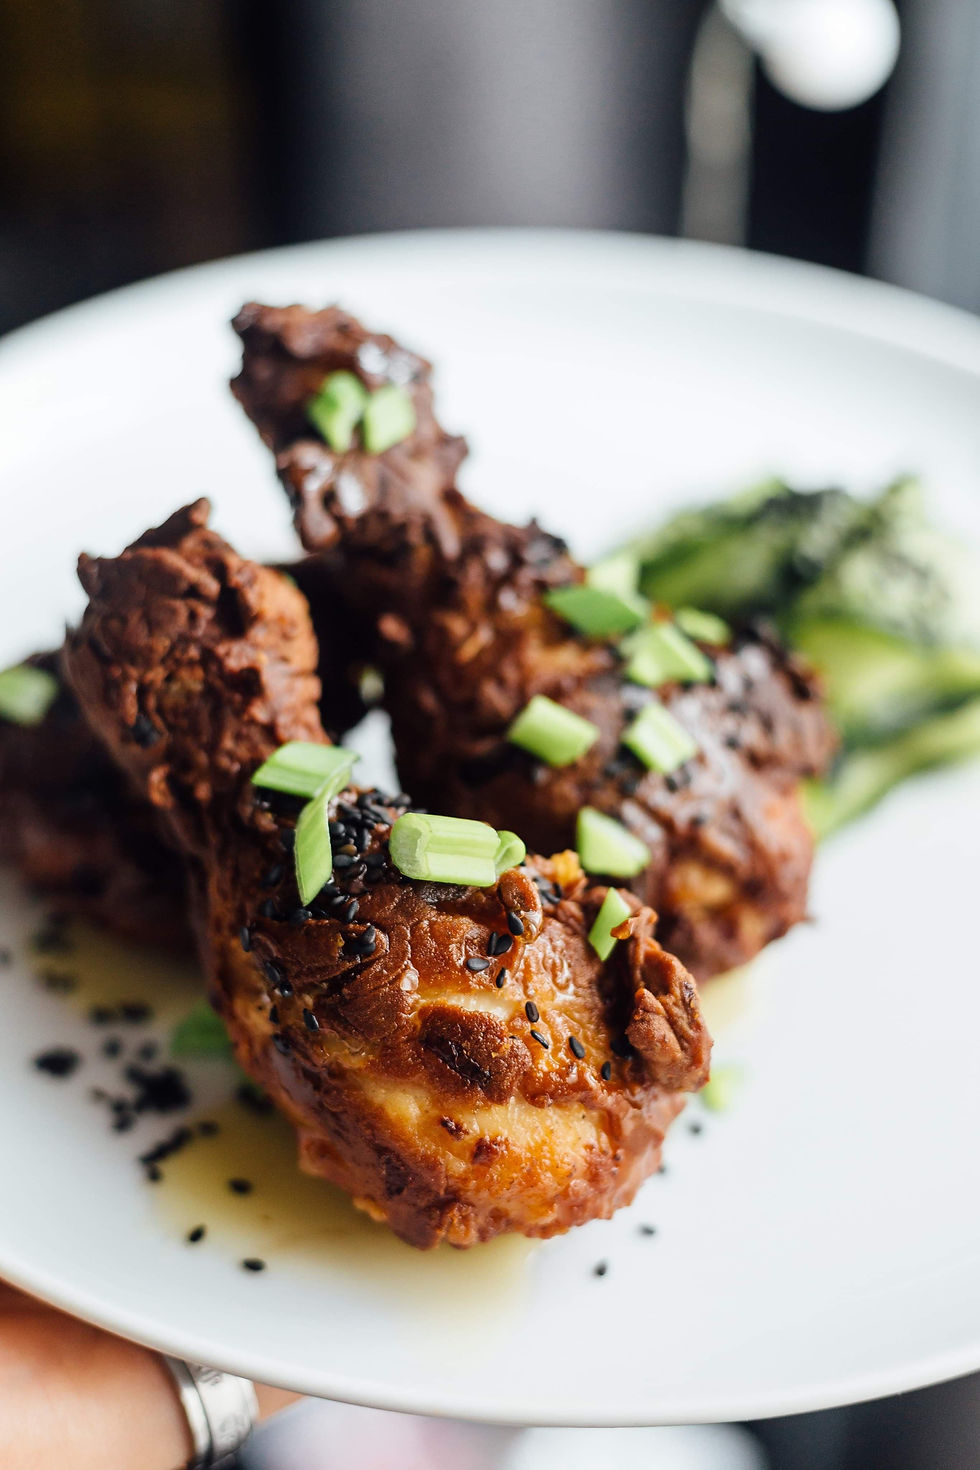
One of my all time comfort foods is fried chicken. It doesn’t matter in what style it is fried. Fried chicken with Nasi Lemak (an incredible Malay dish of meat and rice made with a blend of spices and coconut), southern fried chicken, or even Korean fried chicken. I love them all and crave it often. This fried chicken recipe is Asian inspired and is made with things you will/should already have in your pantry. It is incredibly simple but will create fireworks in your mouth.

Ingredients:
Soy sauce
Garlic
Onion
Flour
Chicken
Optional - Sesame seeds and honey
Method:
1) Dice your onions and finely slice your garlic. I use about half a small-medium onion and one good-sized clove of garlic per for 4 pieces of chicken.
2) Put your chicken in a ziplock bag or Tupperware. Here I use the drums and thighs. Pour in a good glug of soy sauce and add in your onions and garlic. Season with pepper (no salt because your soy sauce is salty). Use your hand to massage the marinade into the chicken. There should be enough soy sauce such that not only is your whole chicken adequately coated in soy sauce but there should also be some leftover soy sauce pooled at the bottom of your ziplock/tupperware. If you like a thicker batter around your fried chicken, add more soy sauce. If you prefer a lighter fried chicken, just have a little soy sauce pooled at the bottom. Leave your chicken to marinade for at least an hour, but the longer the better.
3) Now to batter your chicken. All I do now is to add flour into your ziplock bag/tupperware, seal it tight, and then shake your container to coat your chicken in flour. The flour mixes with the soy sauce and sticks to your chicken. The more soy sauce you have in the container, bigger clumps of flour will form on your chicken. More soy sauce = more and bigger clumps = a thicker and crispier batter. So again, adjust how much soy sauce is in your container based on how you like your chicken. I keep adding flour into the container and shaking until the flour coating on your chicken looks dry. You can also use corn flour instead.
4) In a big and decently deep pot/pan (Cast iron pans or steel pots/pans with a heavy bottom work best), I add oil with a good smoking point. Smoking point is the temperature at which an oil boils. Butter and olive oils have really low smoking points. I usually use sunflower oil for frying and add at least enough so that the oil will cover my chicken halfway when I add it in. I put my pan on a medium high heat and let my oil get up to temperature. I know that the oil is ready when it starts to shimmer. I test to see if the oil is hot enough by dropping in a small speck of flour/batter mixture. If the oil is hot enough, you will hear the flour sizzle and see bubbles around the batter as it fries. If you do not hear and see that, your oil is not hot enough. Give it another couple of minutes and try again.
You can also deep fry your chicken in which case you want a real deep pot. Again, only ever fill your pot half full with oil. Your oil will rise as you put your chicken in and will also bubble when cooking so you do not want a pot full of oil.
5) Put your chicken in once the oil is hot enough. Lay the chicken away from you so that if there is any splash, it will be away from you. A normal piece of thigh will take about 20 minutes to cook. Drums a little less. So let it fry on one side for about half the time before turning it over. Shake your pan side to side after dropping your meat in to ensure your chicken does not stick to the bottom. Give it about 5 seconds before you put another piece of chicken in. With every chicken you add, the temperature of the oil drops. Waiting a couple of seconds ensures that your oil gets back up to temperature and your chicken doesn’t stick to each other. Again, how long it takes to cook really depends on the size of your chicken, whether it is boned or deboned etc. Don’t put your gas on high, but on a medium to medium high, or your batter will burn before the chicken is cooked. When you do cut into your chicken eventually, you want it to be done (fully opaque) but still glistening with juice inside.
6) Once your chicken is fried, take it out and leave it on a wire mesh/grill/something like unto it to rest. This allows the excess oil to drain off the chicken and ensures the batter stays crispy. Sprinkle some salt (and I use large salt crystals, sea salt) over the top. This seasons the chicken but also makes it even crispier than it already is.
7) Now fried chicken can be pretty heavy. I drizzle some honey over it and sprinkle some toasted sesame seeds to lighten it and enhance its asian flavour. I then serve it with some lightly pickled cucumbers.
Pickled cucumber:
I take a vegetable peeler and start by peeling long strips off one side on the cucumber. I want to create a flat surface so that I can place the cucumber on my cutting board without it rolling around. This is a general principle when you want to cut/peel anything; it is safer and easier when you have one flat surface resting on your board. Now we can start peeling long strips of cucumber to pickle. We do not want first peel that is just the skin. We also do not want to go too deep such that we reach the seeds. The seeds of a cucumber are watery and not the most pleasant. The flavour is really concentrated in the flesh which also has the best texture. For the pickling liquid, I make it almost like a do a vinaigrette (in fact I use it as a vinegrette for a salad after I am done with the pickling). 1 part vinegar (and I use white wine vinegar) and 3 parts olive oil. If it is too strong, sprinkle in some sugar. Just put your cucumber strips in the pickling liquid for as long as you can (at least an hour but the longer the better), making sure your cucumbers are fully submerged. And there you have it! A fresh cucumber pickle that lends some acidity and life to your Asian Fried Chicken.
Comments